This information is for inspirational purposes only. To learn more about Frost Artisan Bakery’s current menu and custom baked goods, please contact us.
Weddings are filled with traditions, from the colors used to the desserts shared. One cherished tradition many couples choose to keep involves freezing the top tier of their wedding cake. Spouses often freeze this part of their wedding cake until their first anniversary, where it serves as a sweet reminder of the growth and love of their first year of marriage. While some couples opt to purchase another cake for this occasion or work with a baker to preserve their cake, it’s entirely possible to handle the cake freezing at home.
How to Freeze a Wedding Cake
If you plan to freeze your wedding cake at home, you need to start the process as soon as you can following your wedding. The ideal timeframe is between the hours following the cake cutting and the morning after the ceremony. It’s also important to note that some cakes will be preserved better than others due to their ingredients. Moist, dense cakes with a high fat content will taste better after freezing than lighter cakes or those with fruit.
Step 1: Remove Decorative Elements
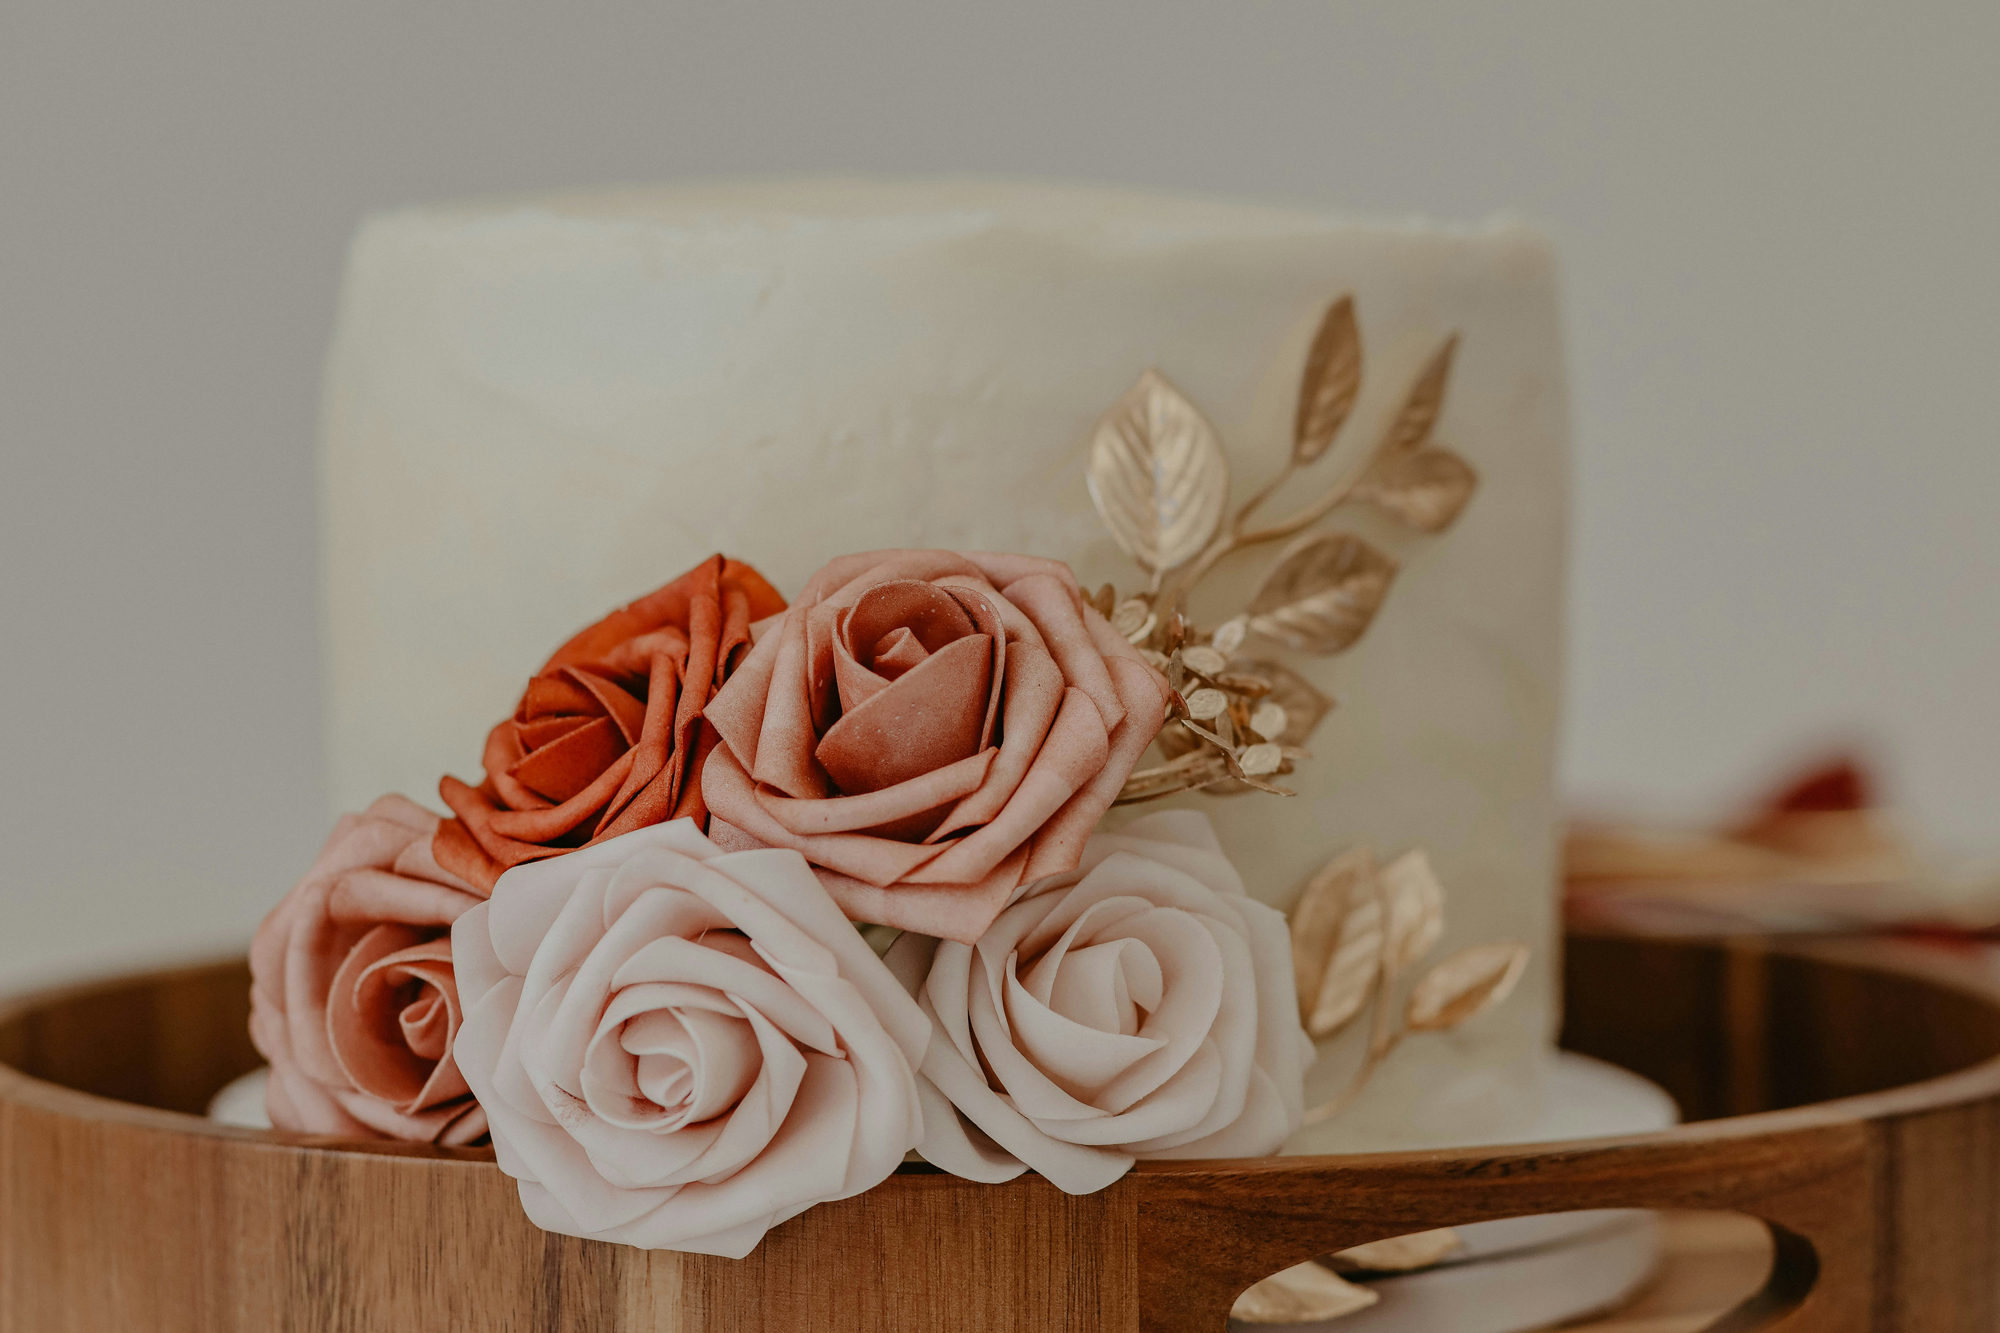
First, take off any toppers or accents like frosted decorations or flowers. Having a smooth surface is key to successfully freezing your cake, and these elements can cause bubbles or folds that may leave air trapped underneath the wrapping.
Step 2: Chill the Cake
After the decorations are removed, put the cake on a tray and leave it in your fridge for a few hours. The cake, specifically the frosting or fondant, should feel firm to the touch before you begin wrapping your cake. If the outside is too warm, frosting and fondant may tear or fall off.
Step 3: Prep Your Freezer
While your cake is chilling, prepare your freezer for the cake. You’ll need to make adequate room so the cake doesn’t get squished, especially early on in the freezing process. Because food odors can transfer, make sure other food items in your freezer are properly stored, wrapped, and sealed. You can also keep things fresh by placing an open box of baking soda in your freezer to absorb potentially troublesome odors.
Step 4: Wrap the Cake
Once your cake is thoroughly chilled, press plastic wrap directly onto the outside of the cake. Start wrapping the cake, ensuring the material is snug and smooth. Any holes, bumps, or folds can impact cake freshness, so make sure these are covered. Ideally, your cake should be wrapped in two or three layers of plastic wrap to prevent spoilage or freezer burn. Then, take aluminum foil and wrap at least two layers around the plastic-wrapped cake. For an extra layer of protection, place the cake in an airtight container or inside a zippered plastic bag with as much air pressed out as possible.
How to Defrost a Wedding Cake
When it comes time to eat the cake, remove it from the freezer and place it in the fridge for 24 to 48 hours. You can then remove the cake from the fridge and place it on a countertop to adjust to room temperature and remove the wrappings.
Create Your Dream Wedding Cake with Frost
The cake artists and bakers at Frost love helping couples make the most of their special day. We offer custom and tiered cakes upon request. Get in touch with our team to get started!